- September 29, 2021
- Posted by: Editor
- Categories: Microsoft, WordPress

Sending email using GoDaddy can be a pain. GoDaddy as a security rule does not allow outbound SMTP settings on their hosting packages. This is an incredibly frustrating issue as it makes sending out email from your website a much more complex task since. Port numbers like 587 are blocked completely.
Thankfully, the Fluent SMTP plugin allows us to use the Office 365 API instead to send the email.
Getting the Ball Rolling
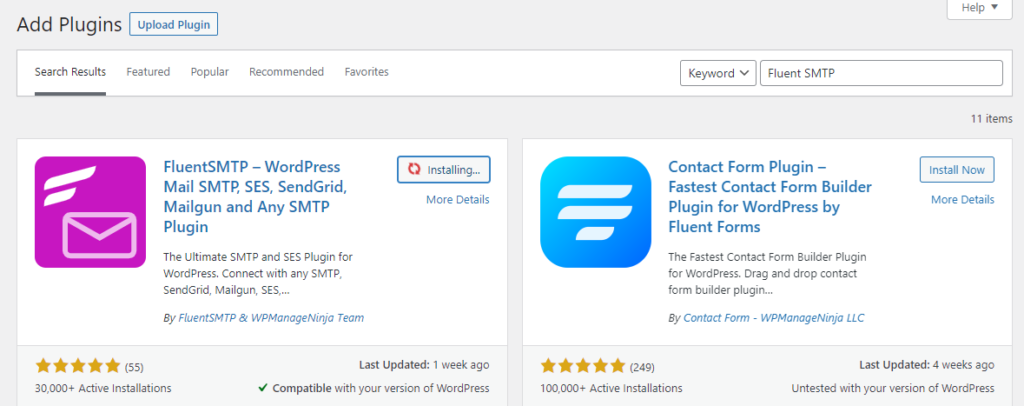
Install and activate the Fluent SMTP Plugin in your WordPress website from the Plugins screen
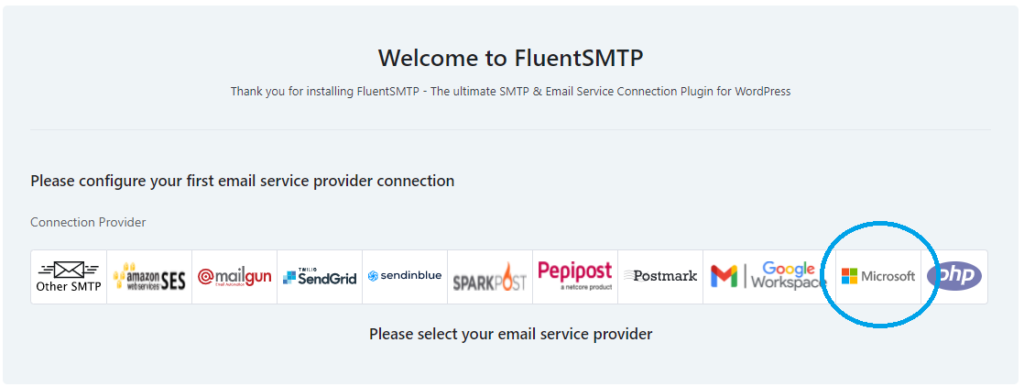
Once activated, from the left sidebar go to Settings, and select Fluent SMTP. Don’t bother with importing settings. You can skip this option as we will be creating a new connection. Once the Welcome screen select Microsoft.
In the field From Email enter the email address that you would have created in Office 365/Outlook. Then add the name that the email address will be coming from e.g. your business name. Add a checkbox to Force Sender Name to avoid other plugins overwriting the setting.
Now move down to the Outlook/Office 365 API Settings section. Copy the url in the App Callback Url field as we will need this shortly. In order to complete this section we need to login and create a new app in https://portal.azure.com/
Configuring Your Application In Azure
Login with your email address and password, then search for app registrations and click on the App registrations option that pops up.

Accounts in any organizational directory (Any Azure AD directory - Multitenant) and personal Microsoft accounts (e.g. Skype, Xbox)

Finally in the Redirect URI field, paste in the URL that you copied from the App Callback Url field and click Register.
Copy the Application (client) ID from the portal and paste that into the Application Client ID field in the Fluent SMTP configuration screen.

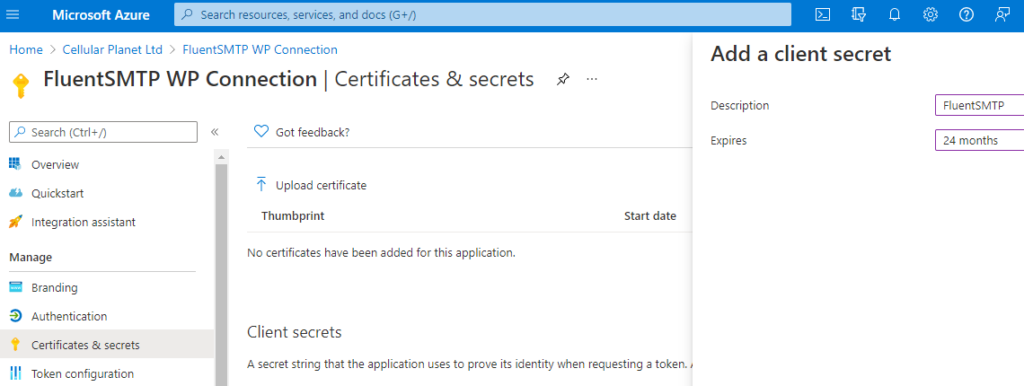
Now go to Certificates and Secrets (in the left sidebar) and click on New Client Secret. Type a Description and choose the longest expiration time possible. Set yourself a reminder for this date as you will need to create a new key to avoid interruptions in email service.
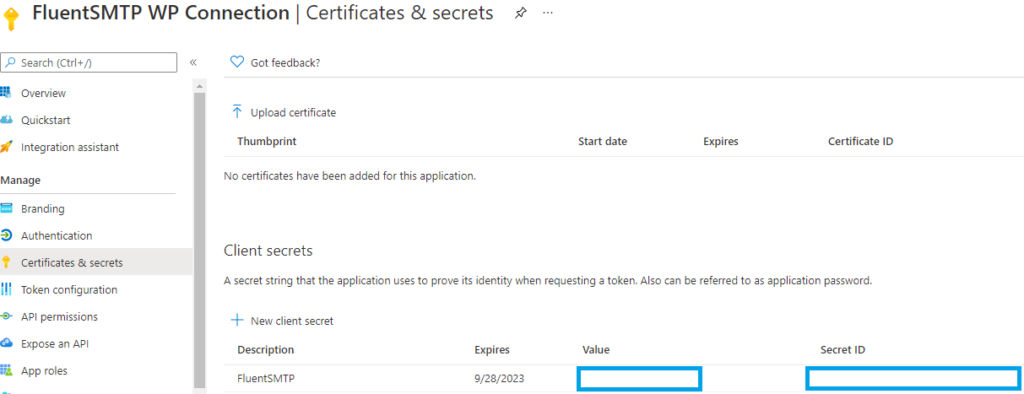
Putting it All Together
Now copy the Value of the Client secret that you created and paste that into the Application Client Secret field in the Fluent SMTP configuration screen.
Important
Be careful when copying the API secret that you copy the Value NOT the Secret ID otherwise you may get an error trying to send email that will look resemble like the following notice.
CompactToken parsing failed with error code: 80049217Finally click the Authenticate with Office365 & Get Access Token button. If you’re not signed in, go ahead and sign in when prompted. A token will be generated into a textbox on the screen. Copy all of text from this box and paste it into the Fluent STMP Access Token box then click on Save Connection Settings.

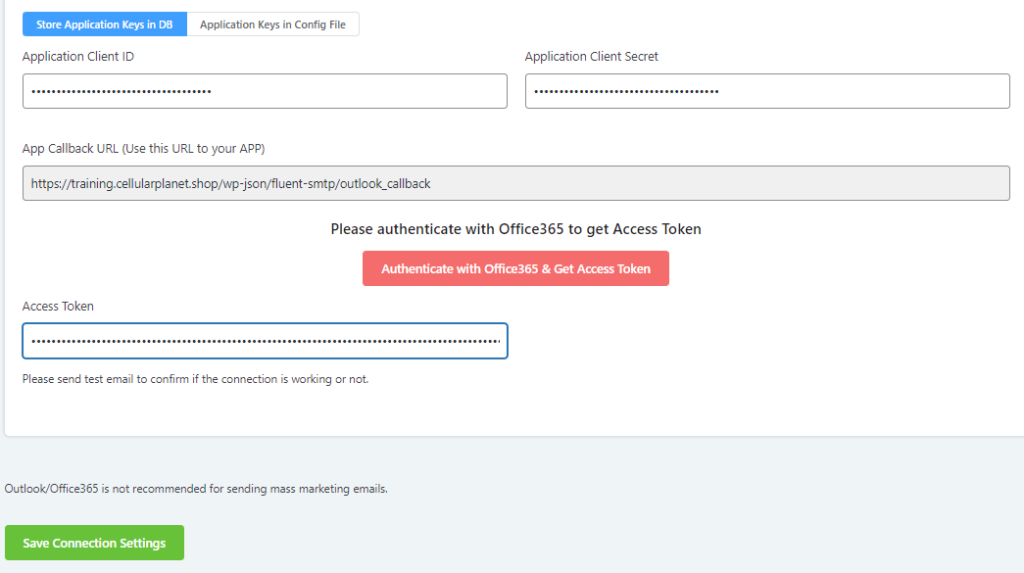
I’ve sometimes had issues when saving the Application Client ID & Application Client Secret in the DB option. To store them in the Config file instead, click on the Application Key in Config File tab. Then copy and paste the snippet there into your wp-config file. Don’t forget to replace the stars with your Client ID and Client Secret Value.

Wrapping It Up
To test that you have configured everything correctly, click on the Email Test tab. Next, enter an email address into the Send To field and try sending an email. If you receive an error, check back over your settings.
And that all there is to it! Now you’re no longer blocked from sending email using GoDaddy. Just remember to renew the Client Secret key to avoid disruption after expiration.
Lastly, please note that Office 365 is not a bulk mail sending service. Sending large amounts of email can get you into trouble pretty quickly. You may want to check their sending limits to ensure you will not exceed those caps.
If you have a lot of emails to send you may want to consider delaying them to be send out at specific times.


Great post! Your instructions on sending emails from GoDaddy using SMTP and Office 365 in WordPress are incredibly helpful. I would also suggest considering the Postman SMTP plugin for an even simpler setup process. Thanks for sharing this valuable information! Keep up the fantastic work!